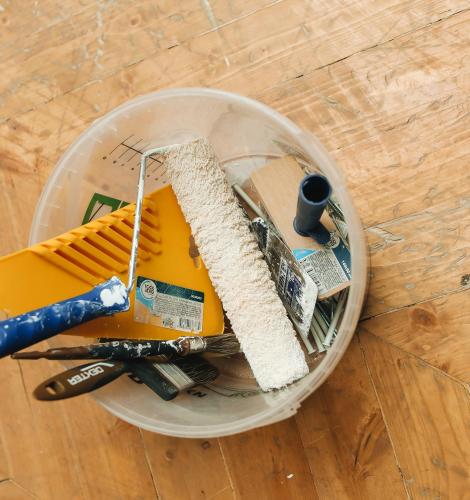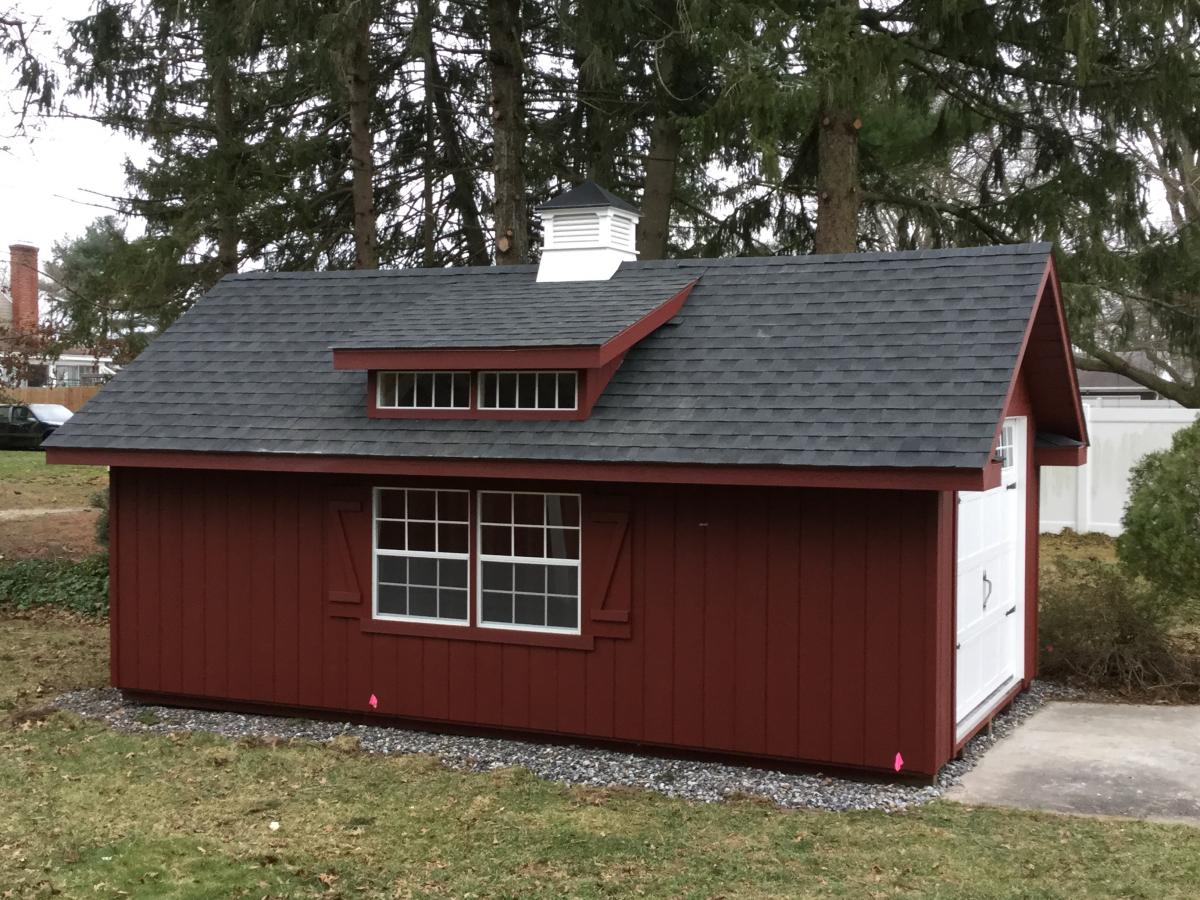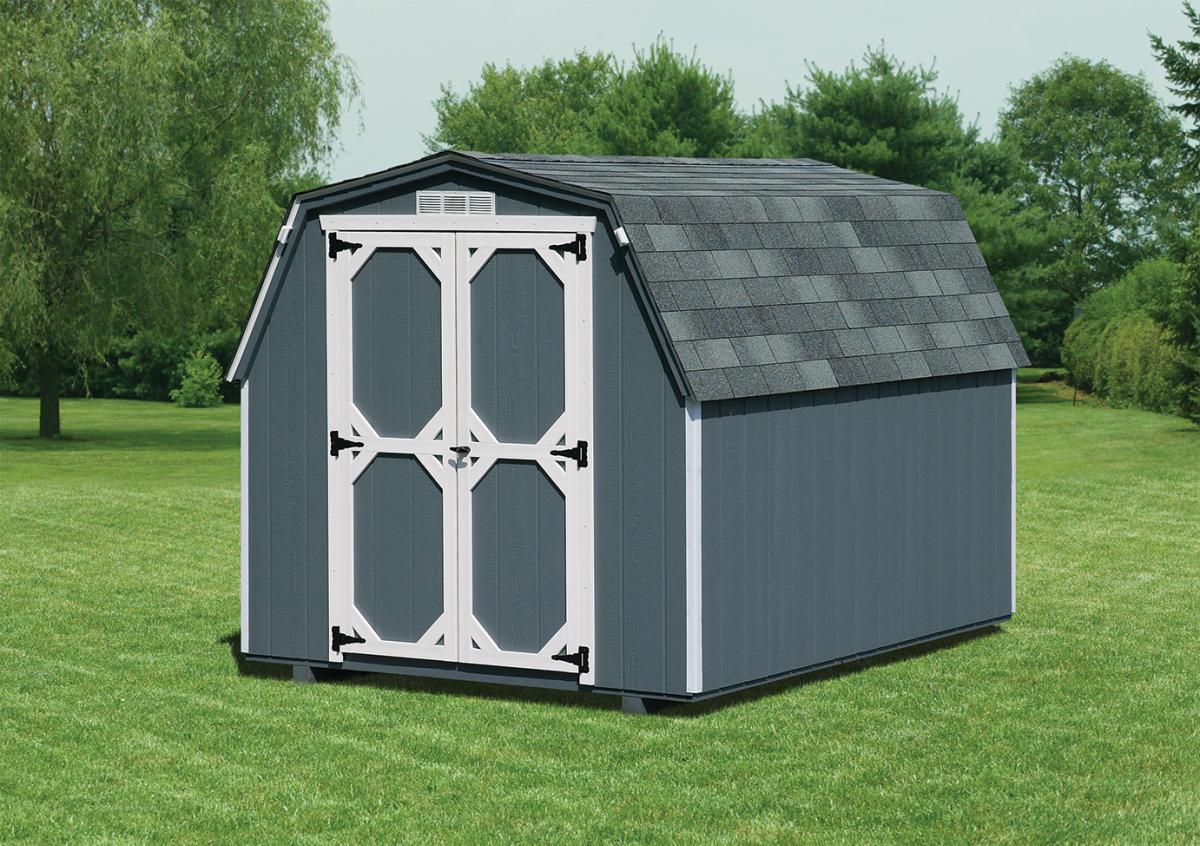
Painting the interior and exterior of your shed isn’t just about giving it a fresh, new look. A painted shed exterior is better protected against moisture and bad weather while a painted interior is easier to clean and can make the space appear bigger. Continue reading to learn the steps, as well as tips and tricks, for painting the inside and outside of your storage shed.
Choosing the Paint
Paint Type
When painting your shed you want to make sure the paint job will last for years. To keep your shed in great condition for years, use an exterior paint that withstands all weather conditions, is waterproof, doesn’t scratch easily, and is fade-resistant.
Paint Color
Deciding what color to paint your shed is a fun task that can seem difficult with so many options to choose from. You can choose a bold, new color that stands out and creates a cheerful visual point in your backyard or you could go with the same color as your home’s exterior. However, your shed and house don’t have to be the same color to go together aesthetically. Choosing a color in the same color hue or going with complimentary colors can help tie your home and shed together.
Additionally, the colors you choose may be different depending on how your shed will be used. For Example, a home office, she-shed, and man cave may all have different color palettes chosen for their interiors and exteriors. However, be aware that if you have a Homeowners Association (HOA), certain exterior colors may not be allowed.
Preparing Your Shed
Clear Out Your Space

You’ll need to first ensure you can reach all sides and angles of your shed for painting. Even though it can take a while, it’s better to completely clear out your shed when painting the interior. This will keep your items in storage clean and paint-free while giving you the space you need to move around with ease. Your shed exterior will also need to be clear and accessible on all sides.
Clean Painting Surfaces
Just like you would any other structure, you need to prepare your painting surface before beginning. Start by cleaning the surface you’re going to paint with diluted cleaner and use a scrub brush to remove all mold, dirt, dust, and grime. When painting wood, you’ll need to wait until it has completely dried before starting to paint.
Sand & Fill in Holes
Depending on the age and condition of your shed, you will want to go over the exterior surface with sandpaper. This helps smooth and even out the surface while also removing any existing paint. Remember to go in the direction of the wood grain when sanding to get the best results.
Any holes in your shed will need to be filled with wood filler and dried completely before painting can start. After filling in holes with wood filler, sand these spots down so they are smooth.
Protect Surrounding Areas
It’s important to keep your grass and surrounding plants safe from cleaning chemicals, sanding dust, and paint. You can do this by covering nearby plants and surrounding areas with sheets or tarps. When painting the interior, you’ll want to cover the floor with a tarp to keep the floor free from paint and to make cleaning up easier.
Next, add painter’s tape around the shed’s windows, doors, handles, vents, and other hardware to keep them clean and avoid paint dripping on them.
Pick a Good Day for Painting

The weather and temperature make a big difference when painting your shed. Obviously painting in the rain and snow isn’t ideal, but humid or cold conditions should be avoided as well. When the weather is too humid or cold, it takes longer for paint to fully dry.
Painting Your Shed
Just like sanding, you want to paint your shed in the direction of the wood grain. Depending on the paint you are using you may need to apply a second or third coat of paint; however, each coat should be added after the previous coat has had time to dry. When painting the interior of your shed, keep the doors and windows open to provide proper ventilation. You can also add a fan to help air out paint fumes from your shed. Once the paint has dried, remove any painter’s tape and enjoy your shed’s new look!
Want to replace your old shed or add a new one to your backyard? Design your own shed with our 3D Shed Builder or contact one of our shed experts to help you get started. With various styles and colors to choose from, Space Makers Sheds has the solutions to your storage problems!